How to use Linkthis
Created on 3 November, 2020 | Guides | 2,144 views | 2 minutes read
Learn how Linkthis functions & how to use it
To use Linkthis effectively, we should first explore its framework, starting with Projects.
What are Projects?
Think of Projects like shells that hold nuts or the folders that carry your documents. Projects exist to enhance your use and provide more organization. They have 2 primary purposes:
How do I create a Project?


Congratulations! Now that you've created your first project, you're on your way to collecting more valuable usercentric data. Next is what to do within your project.
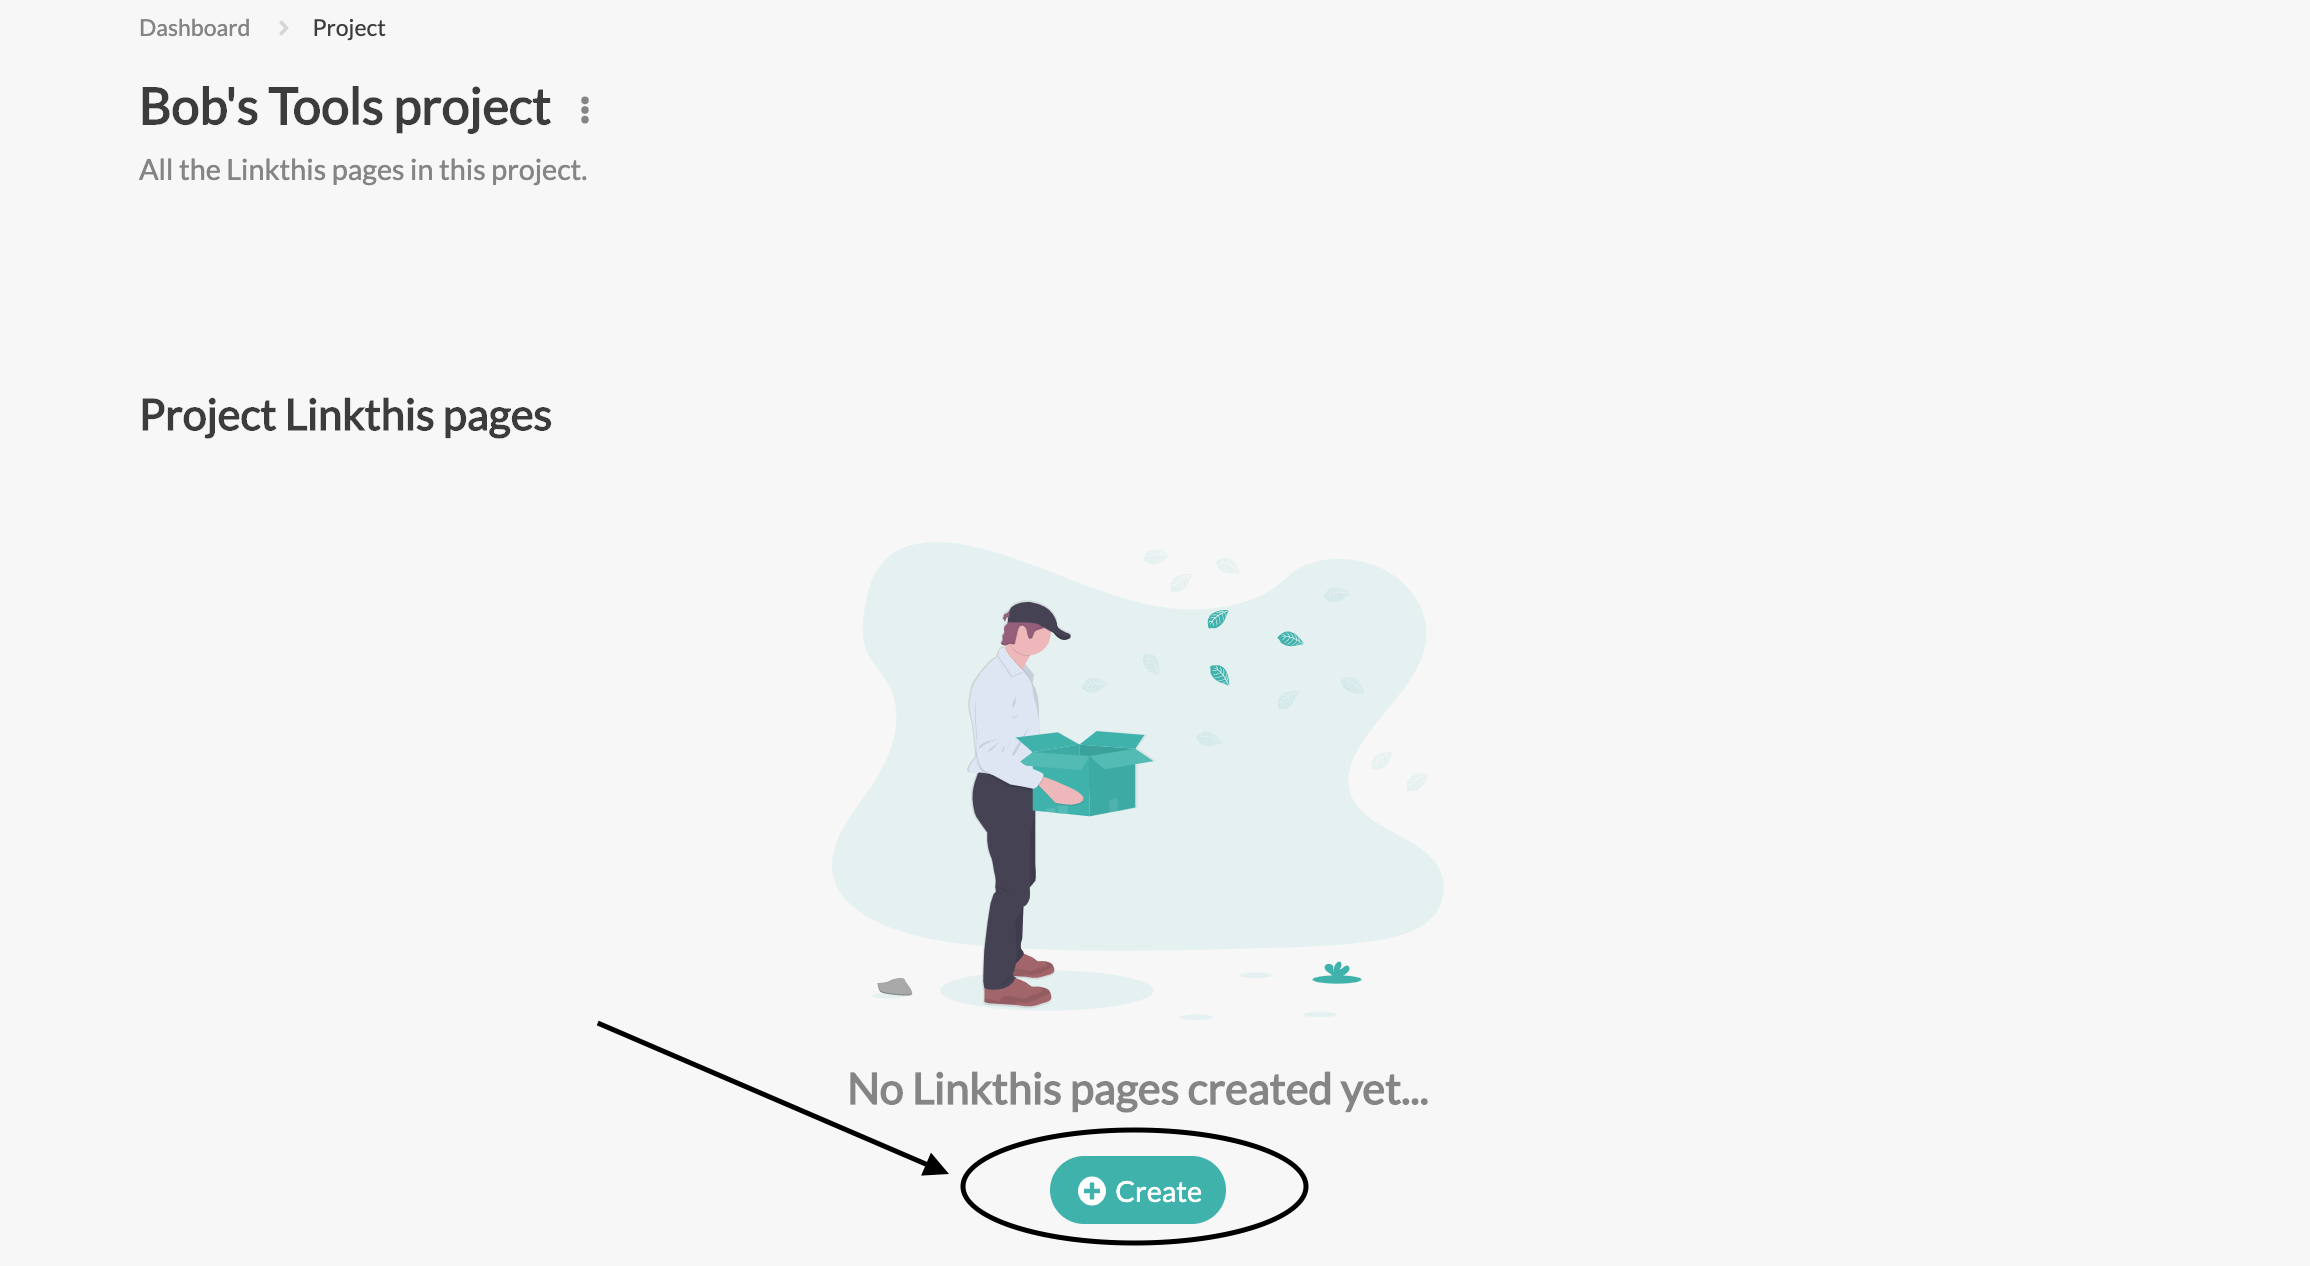
What are Project Linkthis pages?
Project Linkthis pages are the customizable pages that hold your links. A good example of a Linkthis page is linkth.is/get-one. The links you see on that page are created within the Linkthis page.
You can have an endless amount of Linkthis pages within a Project, for free.
How do I create a Linkthis page?

TIP: Your Linkthis page link cannot have a .com, .ca, or any domain extension. Just make it a keyword, business name, promotion, etc. A wrong link would be "www.bobstools.com" (that would look like linth.is/www.bobtools.com and won't work).
Linkthis page settings
We provide many options to customize your Linkthis page. To begin customizing, change the title, add a description, and choose a background. You can preview any changes you make to your Linkthis page live!
Don't forget to click the Update button after any changes.
Learn more about Linkthis page features
Demo of Linkthis page settings
Video depicts Linkthis page settings for Pro user.
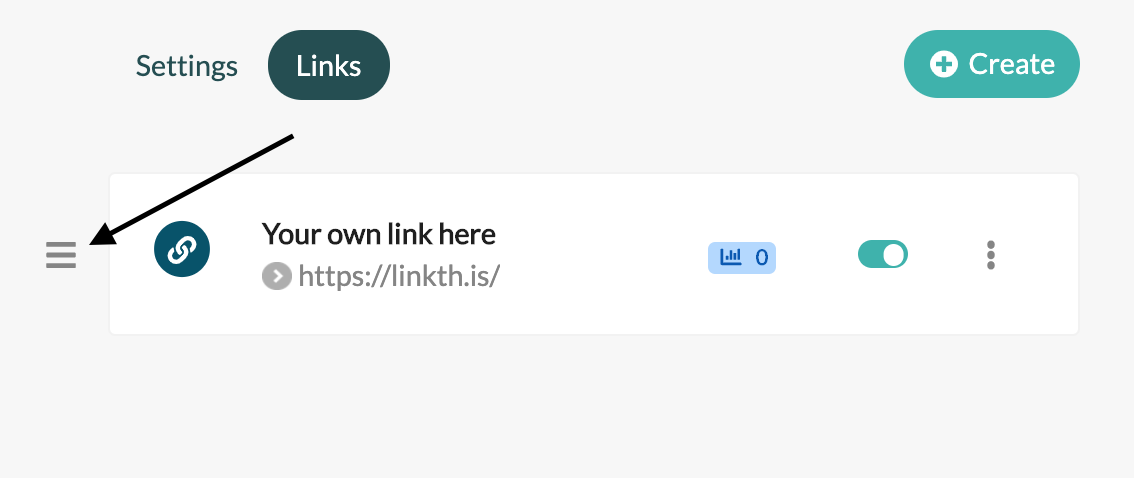
Adding links to your Linkthis page
To get a picture of what Linkthis page links look like, check out some of our popular Linkthis pages!
As you can see in the above examples, there are many different ways to customize your Linkthis page and links. You can add images, animated links, Spotify embeds, and much more.
To add and change links, follow the steps below or skip to the end to watch the video:


Bonus
Linkthis is still in the beta stage. What that means is that we aren't in full production, so some things may not work as expected or may be overly complicated. If you notice something broken or think something should change, we'd appreciate any input. To provide feedback on a page, how we're doing, or if something is broken, click on the pink "Feedback" tab on the right-hand-side of the screen.
Watch the 40-second video below to learn how to use this feature.